Best Den routine: review expiring Holotable choices, treat urgent injuries, settle progression and equipment, check recruitment and conversations, then start the Tactical Mission that advances the Cycle.
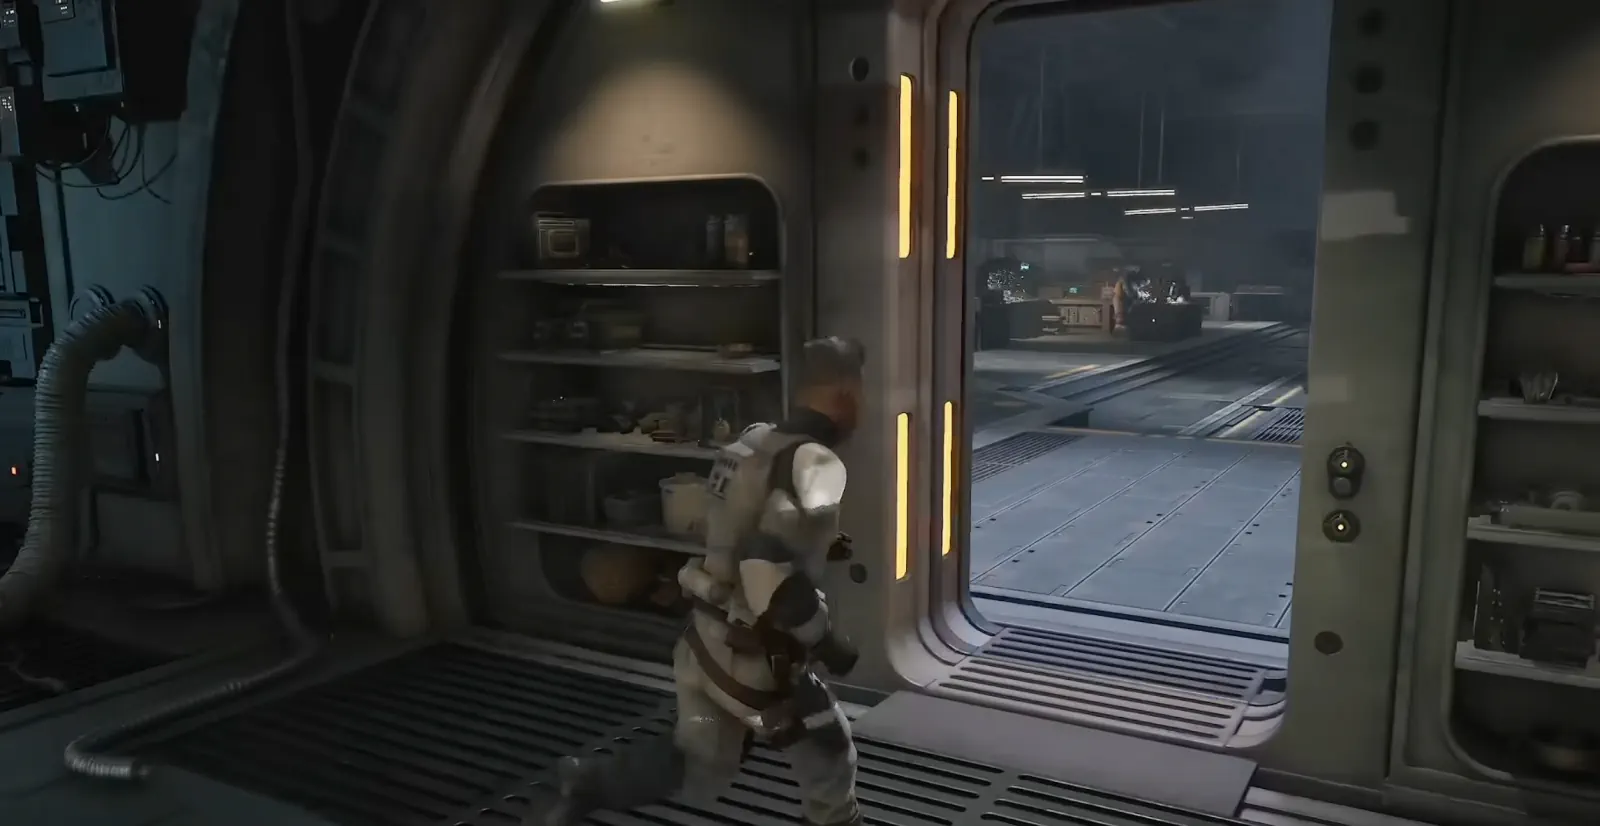
Den facilities at a glance
| Facility | What it manages | Decision to make before deployment |
|---|---|---|
| Holotable | Tactical Missions, Operations, Influence, current Cycle | What expires, what costs Intel, and what advances time? |
| Recruitment | New custom Operators for Credits | Does the current pool fill a real roster gap? |
| Personnel | Stats, Bonds, Focus Tree, most Specialization changes | Which Operator or pairing needs investment now? |
| Armory | Weapons, modifications, utilities, Black Market | Does the loadout match the next objective? |
| Upgrade | Den infrastructure and roster-wide improvements | Which build deserves the available slot and Cycle time? |
| Medbay | Injury recovery | Who must be healthy for the next mission? |
| Customization | Appearance and outfits | Cosmetic only; change the company look without changing power |
| Memorial | Fallen Operator records | Review the service of Operators lost under permadeath |
1. Start at the Holotable
The Holotable shows the current Cycle's Tactical Missions and Operations. Operations use Intel and can provide Credits, Weapon Mods, Utilities, information, or narrative choices. Tactical Missions deploy the squad and advance to the next Cycle when completed.
Because both activity types can expire, do not launch the nearest mission automatically. The Intel and Operations guide gives a safe decision order.
2. Stabilize the roster
Injured Operators suffer combat penalties. Standard Medbay beds take one Cycle to heal, while the Bacta Tank can provide instant recovery; treatment costs Credits. Decide whether the Operator is essential now or can sit out while another recruit takes the mission.
Recruitment presents a new custom-Operator selection each Cycle. Recruits come with a name, Talent, primary Specialization, Weapon Class, and backstory, and the pool can be refreshed. Starting roster space is limited, so recruit for a job instead of collecting every option.
3. Spend progression deliberately
Personnel is where you inspect combat stats, Bonds, and the Focus Tree. Focus Points upgrade Talents, abilities, and passives. Most Operators can also change standard Specializations there, while authored-character restrictions still apply.
Review Bonds before spending in isolation: higher Bond levels lead to Cross Training, and Focus Points are primarily earned through Bond growth as well as mission rewards.
4. Match equipment to the mission
The Armory handles four Weapon Classes, modification slots, utilities, and cosmetic weapon appearance. Credits spent on one Operator cannot solve every other Den need, so compare the next objective with the current inventory before shopping.
Use the Weapon Class comparison for the attack-cost and range decision. A strong weapon on the wrong role can still produce an awkward turn.
5. Queue upgrades before advancing time
Facility projects require a free Build Slot and take at least one Cycle. Later upgrades can add capacity or new options, including a Droid Bay for Astromech recruitment and roster-wide weapon improvements.
The safe sequence is simple: start the build before the Tactical Mission advances time, provided the cost does not prevent more urgent healing or equipment work.
Final pre-mission checklist
- Expiring Operation handled?
- Intel and Credits intentionally reserved?
- Injury treatment decided?
- Focus Points and Bonds reviewed?
- Weapons, mods, and utilities matched to the objective?
- Recruitment pool checked?
- Upgrade slot active?
- Den conversations completed?
Base management is not a separate minigame. Every Den decision determines which four Operators reach the next battlefield and what they can do there.